One year ago, my husband and I had a beautiful office located on the second floor of our house. We had our diplomas, pictures of family and friends, our computer and all the other necessities that make a wonderful workspace. Fast forward to now, and we no longer have that beautiful room. What happened? We had a child who not only brought tons of joy into our lives but also hundreds of toys and baby gear.
When Hadley was around six months, we started to see the overflow of toys slowly taking over each and every room. We contemplated selling our office furniture for weeks and finally decided to do it over the holidays. At the time, it was a difficult decision since my husband is currently in grad school and had to give up dedicated space. But looking back, it was the right decision for us. Once we made the decision, here were the steps we used to create Hadley’s playroom:
Step One: Selling the office furniture
We decided to sell our furniture on Craigslist which we had never done before. We were very fortunate to have a positive experience and did our homework before selling. With the money we made, we were able to put it towards Hadley’s new space.
Step Two: Storage
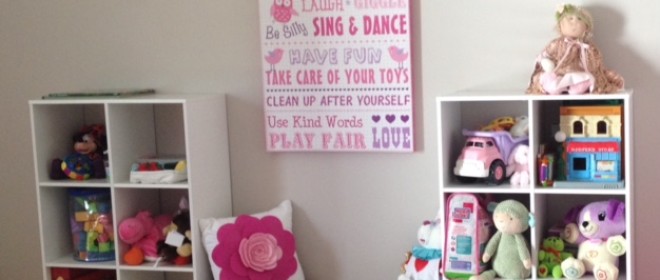
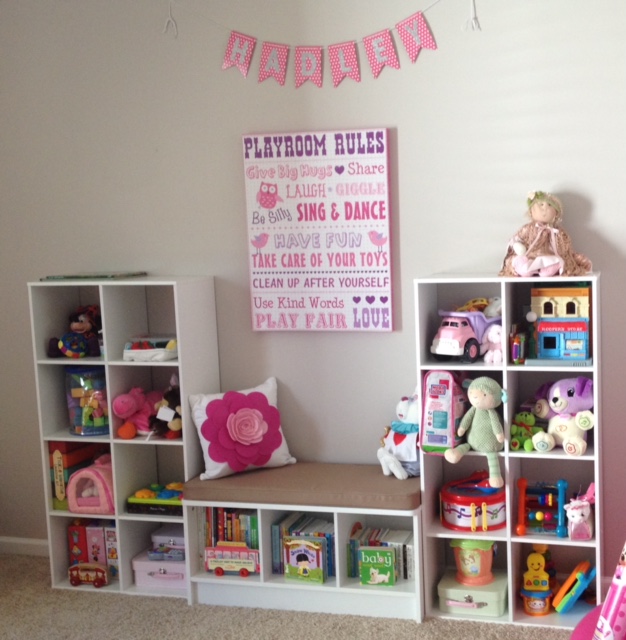
We had received gift cards to Target as Christmas gifts and found these storage cubes. We purchased three individual pieces that were fairly easy to put together. We also liked the bench feature in the middle. These storage units truly made the focal point of the room. Hadley enjoys the selection of toys along with pulling every s i n g l e book off the shelves!
Step Three: Creating Centers
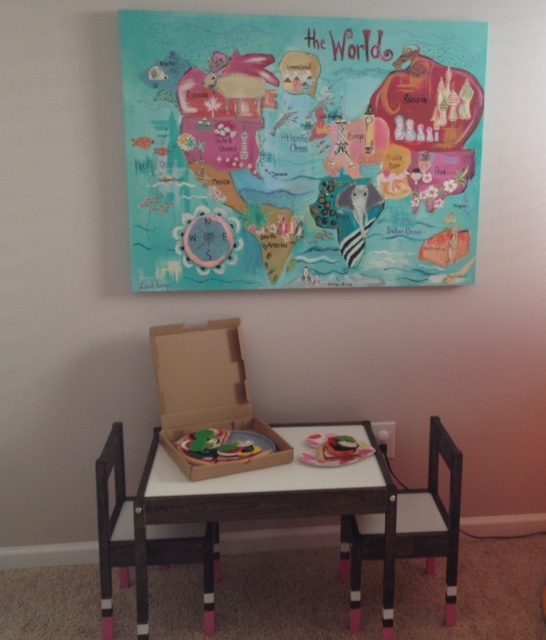
With the room, we organized it by having different areas for Hadley to play with. We purchased this table from IKEA for $20. If you look on Pinterest, there are so many things people have done to this table, like applying chalkboard paint to the table top, adding a Lego board and the list goes on and on. I am a huge fan of the blog Little Baby Garvin and actually recreated the same idea she had.
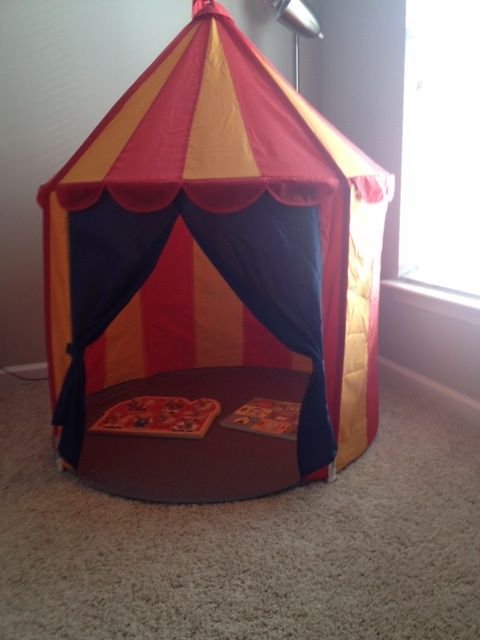
The next area is the IKEA circus tent which includes two of Hadley’s favorite puzzles. She loves to sit in her tent and bring toys and books. We have received so many compliments on this tent and just cannot say enough great things about it. We envision this to be her reading area when she is a little older.
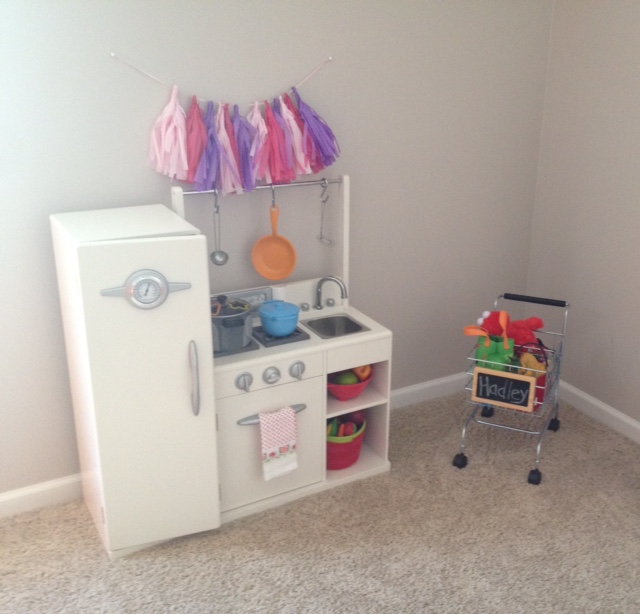
Hadley received this kitchen from Pottery Barn Kids for her birthday from her grandmom and loves it! She loves to open and close the refrigerator along with placing items in the sink. Included in her kitchen area is her shopping cart, also from PBK that she loves to play with now that she is walking.
When we first assembled the shelves, I did not think we would be able to fill them but surely I was wrong! I try to keep the heavier items at the bottom for obvious reasons. I have also grouped items together including books, blocks, musical instruments, etc.
Step Four: Decorating
We really did not have a theme when putting this room together. I would have loved to have painted it a fun color but I knew I didn’t want to press my luck any further since I was lucky enough to have my husband give up his office! Maybe down the road some day, we will. I found all the artwork at Homegoods for under $40! Being a former History teacher, I absolutely adore the world map painting. It is actually my favorite piece in the room! The banner is actually one that I purchased at Target and used for Hadley’s birthday party. I bought the letters at a local craft store. I loved how we were able to reuse a decoration rom her party and how it just completes the space.
Step Five: Playtime!
We decided on a playroom because we wanted Hadley to have a designated space for all of her toys. This room is centered around fun and laughter. This room not only contains the most toys but also the best memories. We spend a lot of our day here and I wouldn’t want it any other way.

 Add to favorites
Sara Brennan
@preppygirl Your office transformation looks great! I love that you’ve taken such an adult space and make it such a wonderful play area for your little princess. Looking forward to other posts from you